This latest computer system is going to be used for adapting within my career background to DevOps (instead of system administrator). Procedures from common use-case examples will aid my path so none can say I didn't know the tools. My purpose is to let others see a glimpse of what I have to go through to nail down a job using a tried/true resume (C.V.) for job seeking. If you are in technology already looking for your next role then this is the place to see. 📑🔖Limitsite.com is about advantages and choices made in the studio of resources among whatever the unexpected is. Meaning, that in that light-to-meaning this site brings out the best of what the unexpected is. I hope to contribute more so you understand what this is about.
Feel free to leave a comment and otherwise, have a nice night.
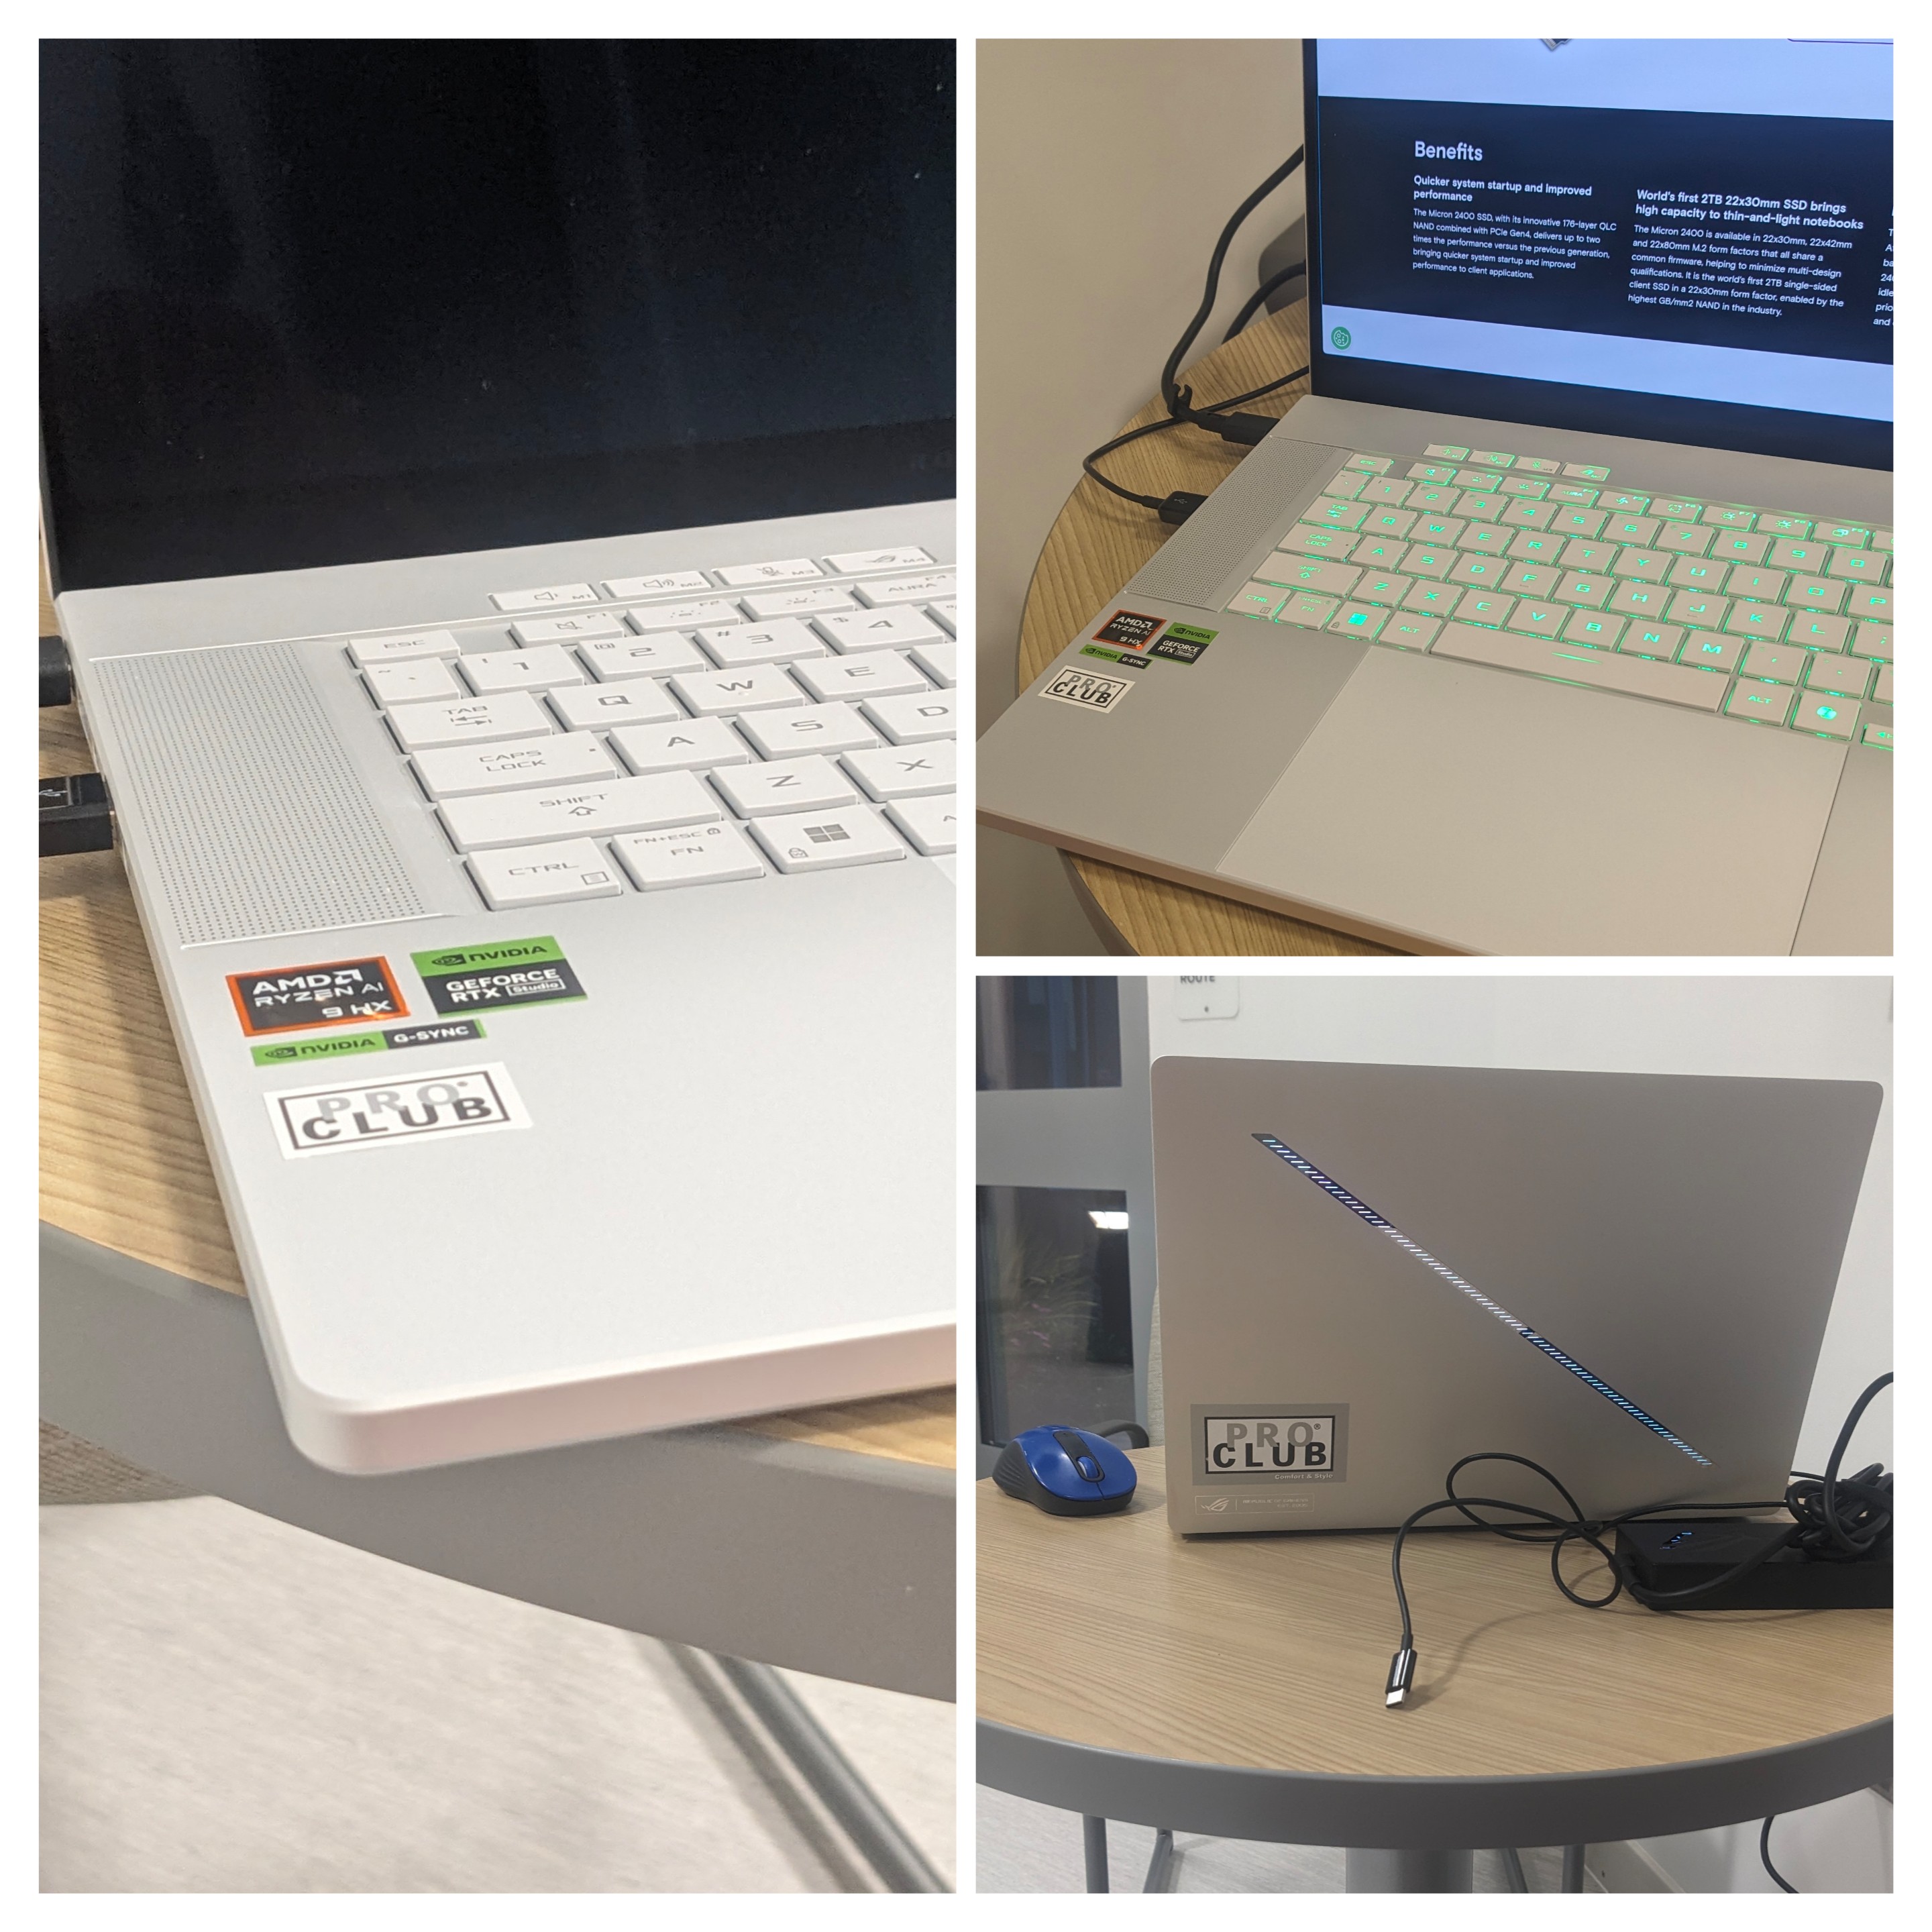
The Asus ROG Zephyrus G16 with the AMD Ryzen AI 9 HX 370 processor can last up to nine hours of real-world use. I got this laptop purchased and it is heading to my dorm at the Cordilleras. I spent a chunk of my SSI, about $2430, to get this laptop. What now remains is about less than $300 of accessories including the Bellroy Transit Backpack, a Kingston USB 3.2 Gen 2 1 Terabyte Thumb Drive, and a Pelican Traveler Laptop Case/Sleeve 16 Inch. I will be covering this laptop's speediness, battery life, and other features, all while having the option to play some games. It is nice that this comes so close to being a desktop replacement without shedding battery life. I am probably going to put Gentoo Linux on this machine. Let's see how fast it compiles and links the libraries.
I used to know how to make a kernel out of Linux's source code. It's good to finally be back at the PC with Windows 11 Pro and 32 GB of RAM. I was considering the Macbook Pro 14inch "M4 Pro" series with 512 GB disk and 24 GB of RAM for $1749, but decided that I like the 12 core AMD processor's efficiency on the ASUS ROG Zephyrus G16. I plan to use VMWare player w/ Linux and OpenBSD, Docker, and more as we approach DevOps engineer employment in the Silicon Valley area. By having a more mobile computer experience this makes for an easier stride through the employment and living housing that I can go through with my experience. The remainder of my SSI is best spent as a rent/deposit but I can try to think of other things I want, perhaps sometime soon.
One more thing about this, is that it has newer battery technology. It allows a fast charge to 50% in 30 minutes. That, and its effective 9 hour battery life make this machine excellent for work and play. I'm going to be going to school with it too. I'll be here to talk about what I do on this machine later.
What will you be doing to empower yourself with technology for 2025?
Personally, I've got a 8-core AMD gaming PC coming my way. The choice was to get the X86_64 gaming rig for now. Since running OpenBSD or FreeBSD can also give the effect that MacOS had, if I desire, it shows that the X86_64 platform is better suited for my use case. All the options with X86_64 show more versatility than the effect of a Mac. I know I had previously stated Apple Macbook was going to be the newest in my equipment collection. I concluded that the "fancy" of MacOS is not always the best use-case when you need software that runs better on Linux. Microsoft's Windows Subsystem for Linux is an excellent feature and I know Powershell is something used in tech jobs as well.
Why fret the Macintosh when you can run BSD on a local disk with VMWare, *and* you'd have plenty of hard disk space for the years ahead. I'm happy to admit that 32 GB of RAM is suitable to examine Kubernetes/Docker scenarios with Ansible expertise in road 🛣🚴🏼♂️ ahead. #CircleCI #competitive #GED #webcam
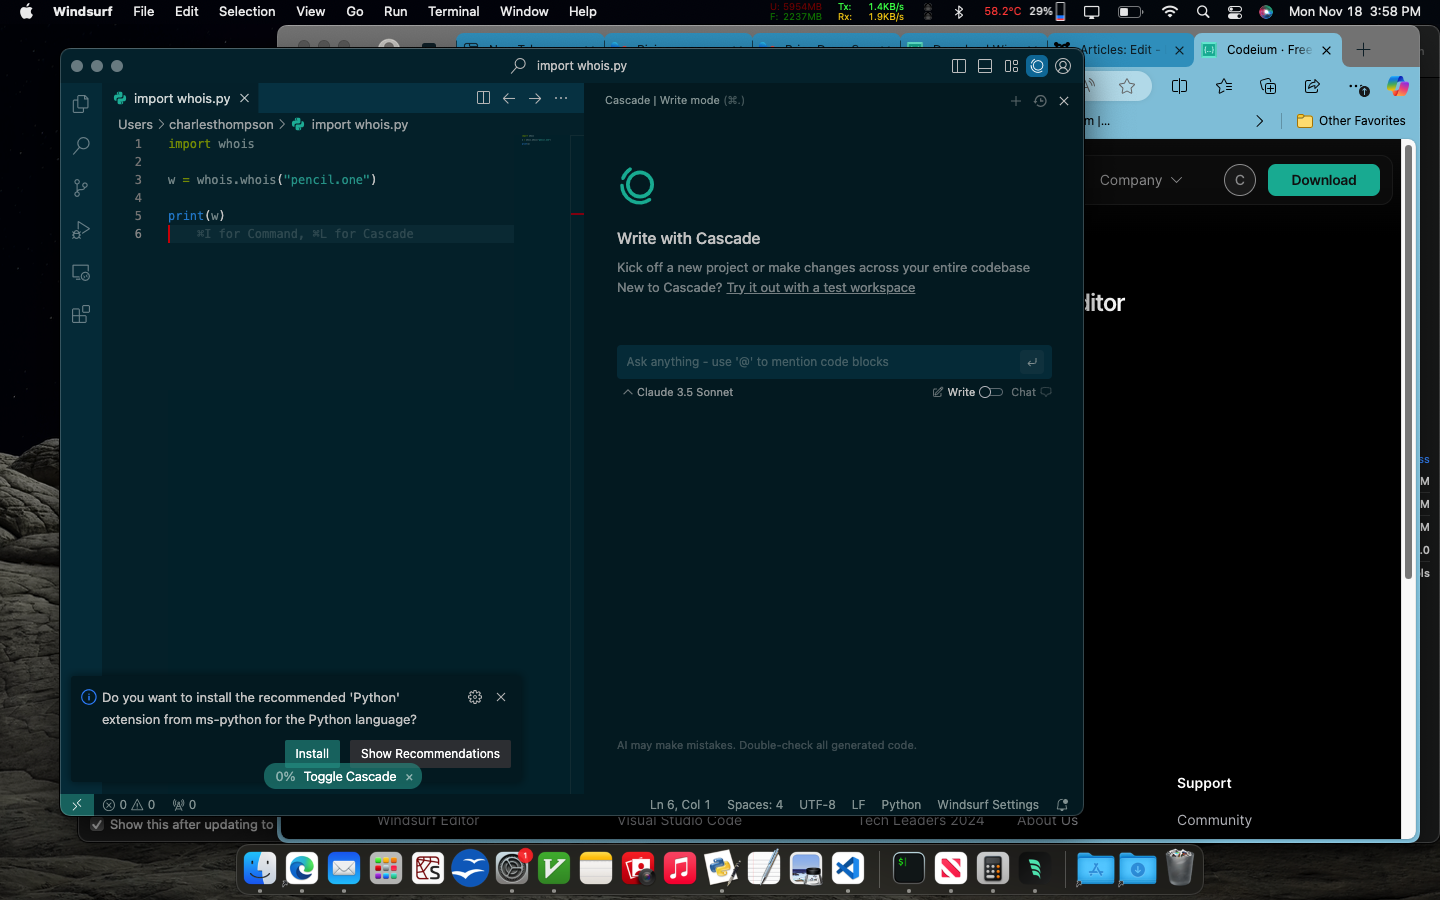
Getting ready to tap into AI aware for my IDE (Microsoft Visual Studio)
Visit Codeium.com to see this new AI aware IDE tool called Windsurf (or get the plugin for Microsoft Visual Studio) 🔙
Inside my IDE I want to use Docker for deploying Flask and Gunicorn.
I hate to admit it, but I was always a beginner. Even though I had power of entire internet infrastructure, I never had the ability to build skill.
The Windsurf AI Aware IDE (from Codeium.com) is something I am excited to introduce Geshtu-E to. 🔧

More to come on my site here at: www.limitsite.tech 📓🧵🔏
I've updated my profile at Monster.com. Some can do but nobody imitates.
Later on, I had root on the box 'spore.Stanford.EDU'. They took that host down recently.
Since I was so connected with IRIX I knew what csh(1) was when some relative family member had mentioned. I remember specifically being told that it supported multiple processors. My idea-- "Let's run John!"